 |
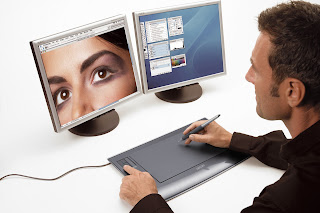
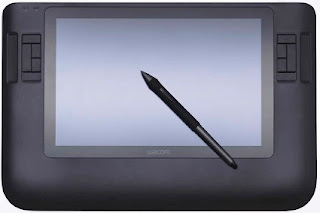
| Aplikasi Penggunaan Digital Drawing Tablet |
 |
| Zoom in Digital Drawing Tablet |
Untuk minggu ke-5 ni juga kami mula belajar untuk apps 3 dan 4 di dalam Ipad yang diberi. Kami diberi tugasan atau aktiviti untuk dilakukan didalam kelas dengan menggunakan apps 3 tersebut. Berikut merupakan hasil tugasan yang saya lakukan berserta langkah-langkahnya sekali :)
Task 1 : Motion tweening
Steps :
1. Draw a circle. double click it to make sure the shape and the stroke is together.
2. Go to frame 25 and insert keyframe. Drag the circle to the place that u want to move it.Resize the circle if u want. You also can change the alpha, brightness and many more to change the color of the circle.
3. Repeat step 2 according to the number of times you want to move the circle.
4. Go to any frame between 1 to 25; for example 12, then right click and select create motion tweet. Repeat this step at every range of frame that you have done.
5. Next, click control on the menu bar and select test movie to view your animation.
6. Finally, you can save your animation.
Task 2 : Shape tweening
Steps:
1.Type the text you want using text tool.
2. Go to modify and then click break apart.
3. Repeat step 2.
4. Go to frame 25 and insert keyframe.
5. Delete the text.
6. Draw the star using polystar tool. Double click at it to make sure the shape and the stroke are together.
7.Go to the center between frame 1 until 25, for example frame 12; then go to properties and click tween and change it to shape.
8. Next, click control on the menu bar and select test movie to view your animation.
9. Finally, you can save your animation.
Task 3 : Motion guided
Steps:
1. Draw the ant.
2. Convert the ant to movie clip.
3. Choose a key frame (example: keyframe no.50)
4. Place the and at the new position at keyframe 50.
5. Right click between the keyframe and create motion tween.
6. Rename the layer as ant.
7. Create motion guide.
8. Use pencil to draw the guide
9. Select first key frame and click the ant at the cente and move it at the starting point of the guide.
10. For the last key frame, move it at the last point of the guide.
11. Use transform tool to adjust the position for certain keyframe,
12. Tick the orient to path at the first key frame.
13. Test movie.
Task 4 : Frame by frame
Steps:
1. Design the cartoon (same cartoon) with different expression..
2.Save every image in the library by convert it to symbol.
3.Put the first image in keyframe 1..
4.For next keyframe which are keyframe 2 and so on, insert another image.
5. Test movie.
6. Save.
No comments:
Post a Comment